
Welcome to SolarShare
This guide walks you through exactly how to get started with our upcoming NFT launch - even if you’ve never used crypto before.
SolarShare is here to make clean energy investment accessible to everyone.
By buying a Solar NFT, you directly support real-world solar energy farms and earn passive income - all tracked transparently on the blockchain.
What Is SolarShare?
SolarShare is a new way to invest in clean energy.
We tokenize the energy output from real solar farms and turn it into digital shares called Solar NFTs.
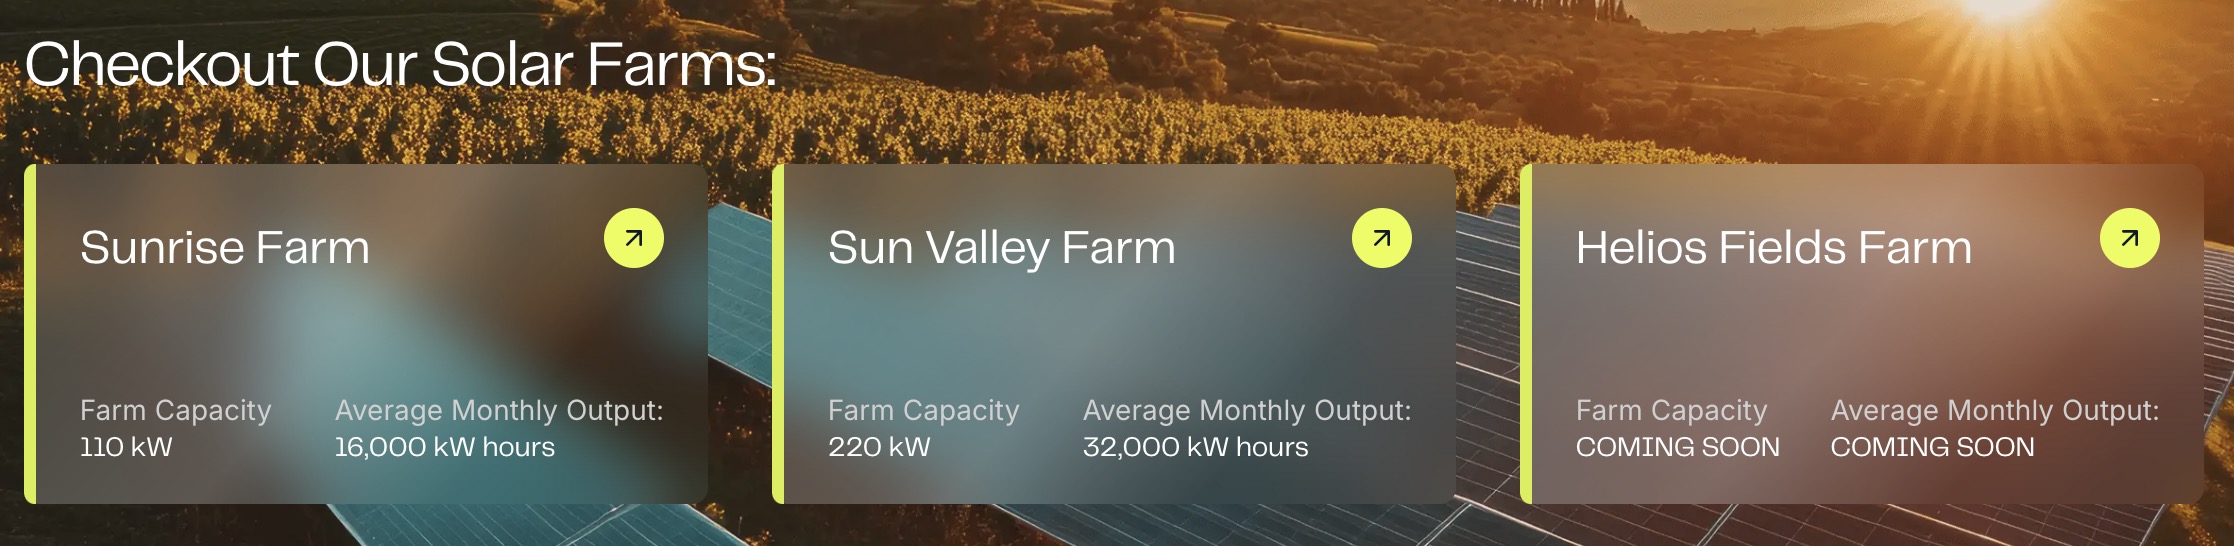
Each NFT represents a fraction of energy output from our solar farms in Brazil:
- Sunrise Farm
- Sun Valley Farm
- Helios Fields (coming soon)
These farms are already built and generating energy. When you purchase a Solar NFT, you are supporting the green transition and earning your share of the income it creates.
Why SolarShare?
- Up to 18% APY, paid weekly
- Real-world energy revenue - not speculation
- Payments in USDT/USDC/BUSD on Binance Smart Chain (BSC)
- Only 3286 NFTs available!
Early Buyer Advantage: Until our native $SOLAR token launches, early NFT holders earn the full 18% APY in stablecoins (USDT, USDC, BUSD), no staking required!
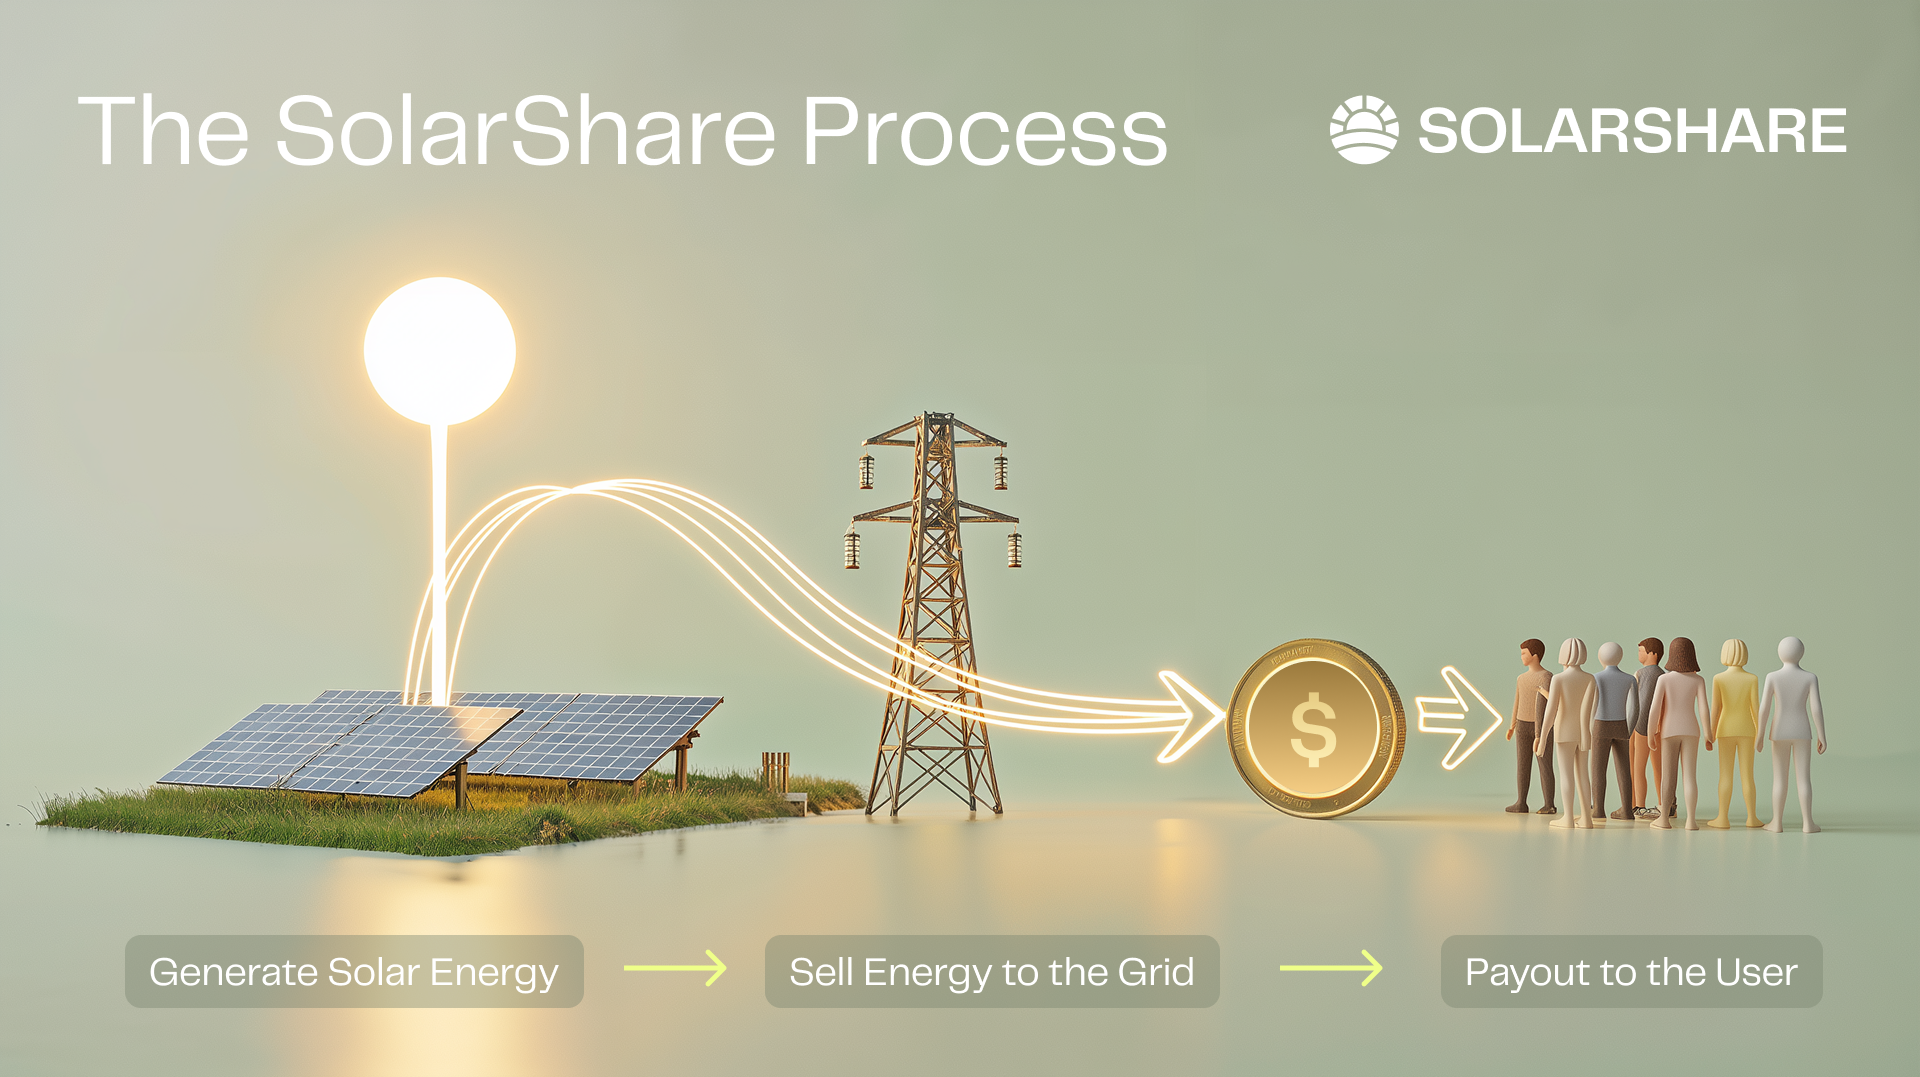
How It Works
It’s simple:
- You buy a Solar NFT
- The solar farms produce and sell electricity
- You receive weekly payouts every Saturday in USDT/USDC/BUSD within your wallet
Your income is transparently tracked on the blockchain.
Your NFT = your share in the energy output.
Guided Pilot Walkthrough
To make your first SolarShare investment as simple as possible, we’ve launched a built-in onboarding pilot. It walks you through the entire process, step by step and all of it, directly in the dashboard.
Here’s how it works:
- Go to: https://dashboard.solarshare.io/store
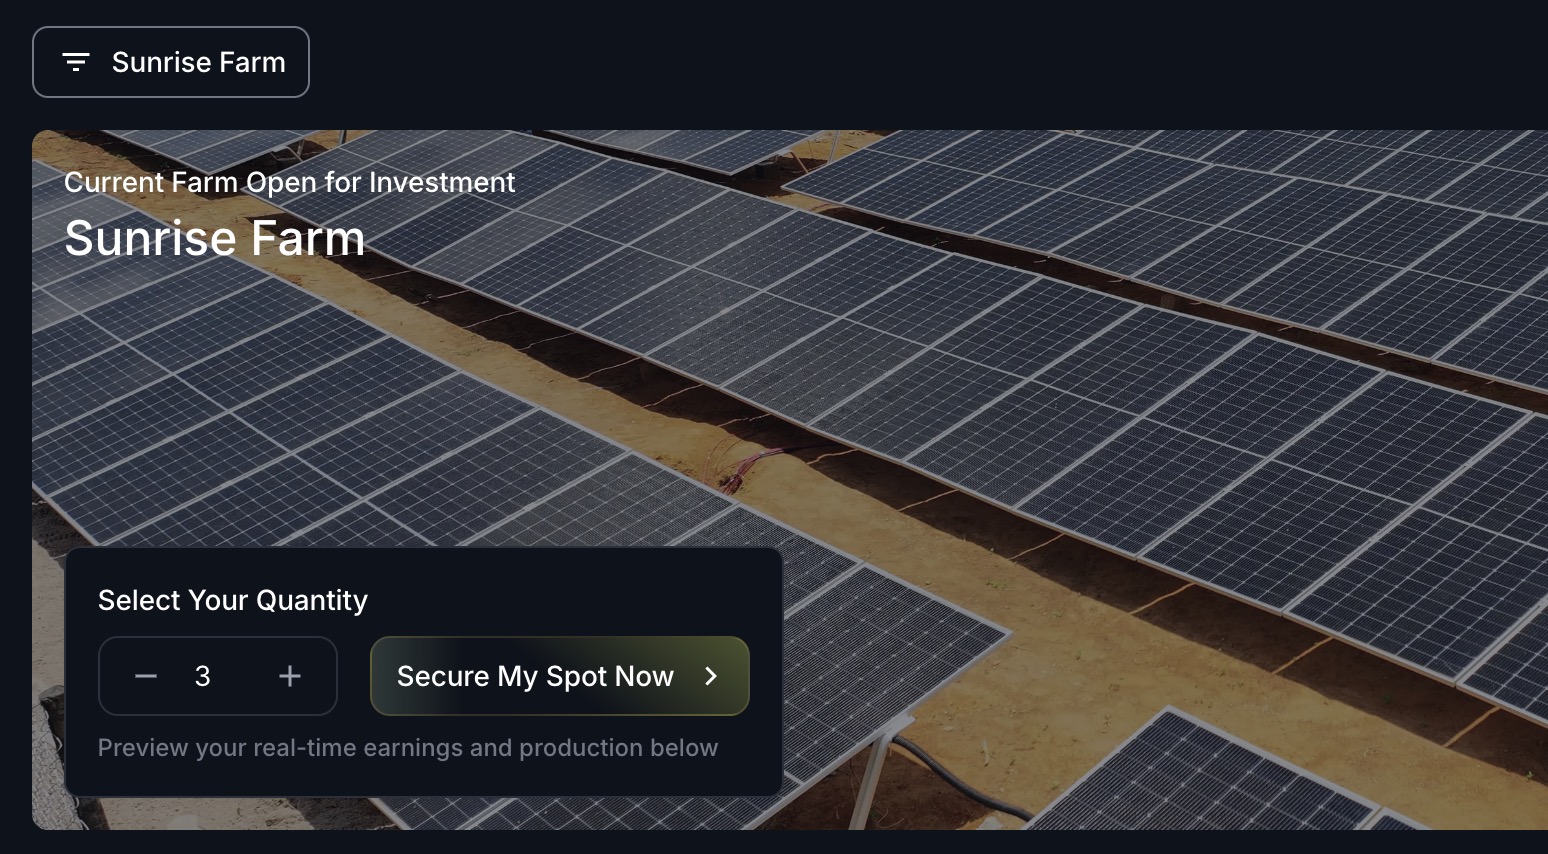
- Choose how many Solar Units (NFTs) you want to purchase, then click “Secure My Spot”.
- This is where our pilot kicks in and helps guide you through each step.
Step-by-Step Guide
- Select Quantity
- The first screen you’ll see is the “Select Quantity” tab.
- Adjust the number of NFTs you'd like to purchase.
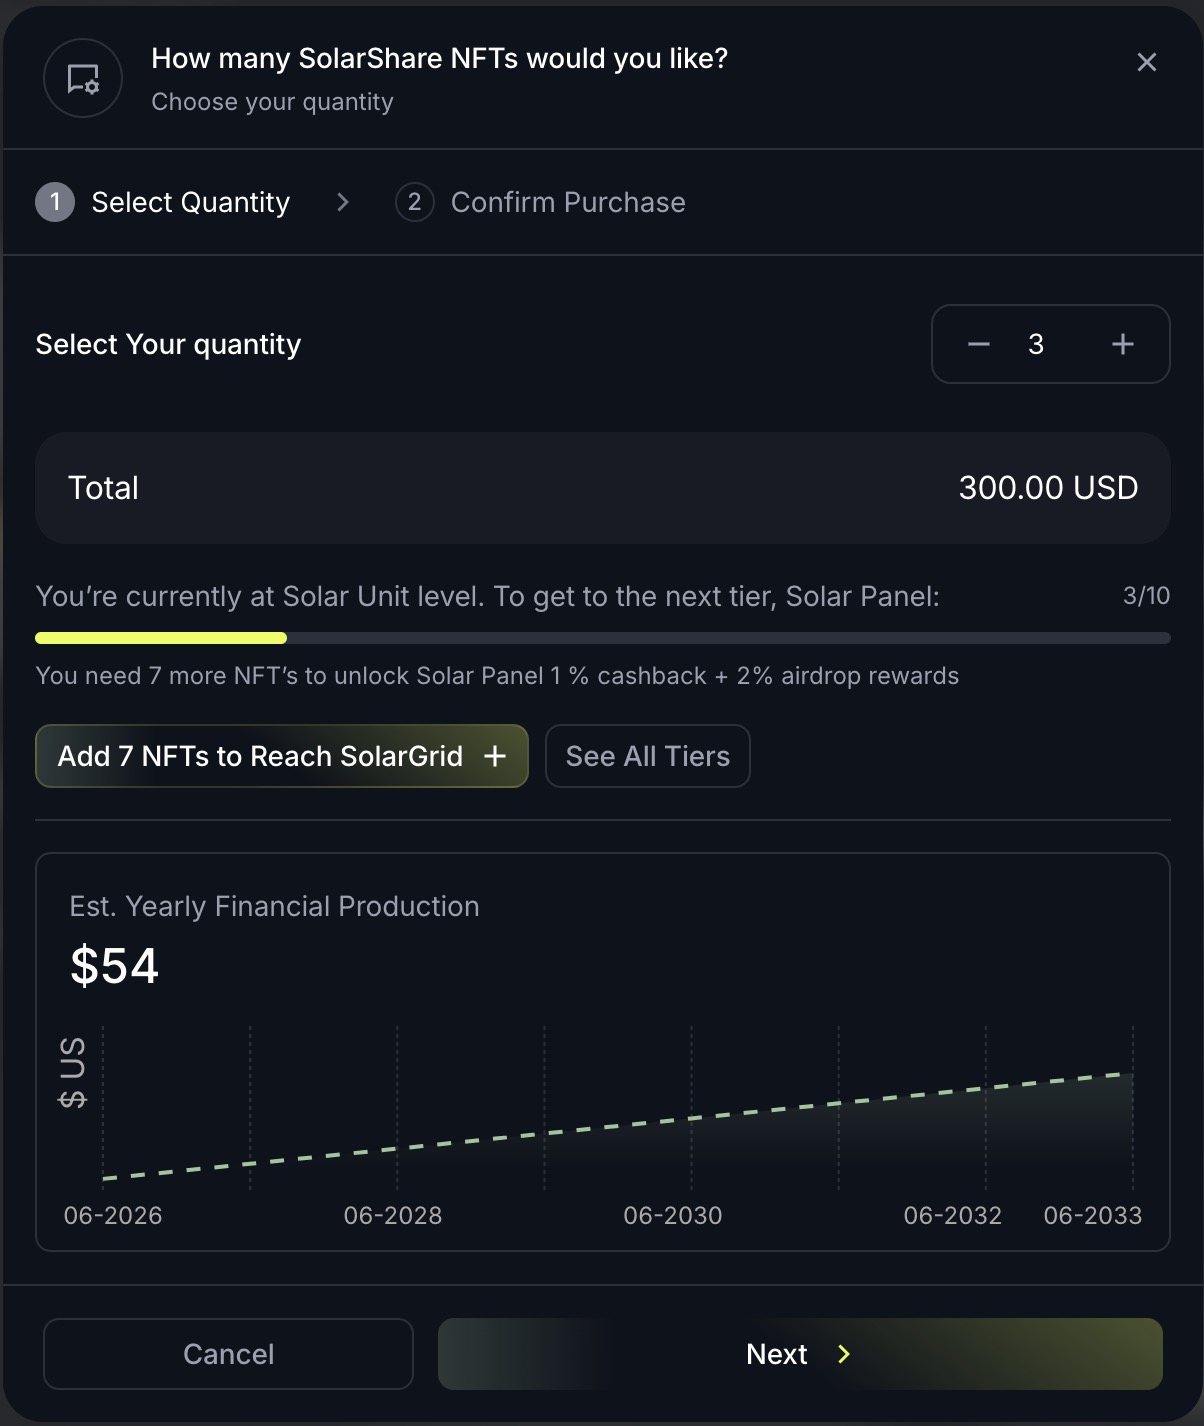
You’ll see:
- Total price in USD
- A personalized Tier recommendation, e.g.: “You need 3 more NFTs to unlock Solar Grid 2.5% cashback + 2.5% airdrop rewards”
- Your estimated financial projection for the next 5 years (based on your chosen quantity)
Once you're happy with your selection, click “Next”.
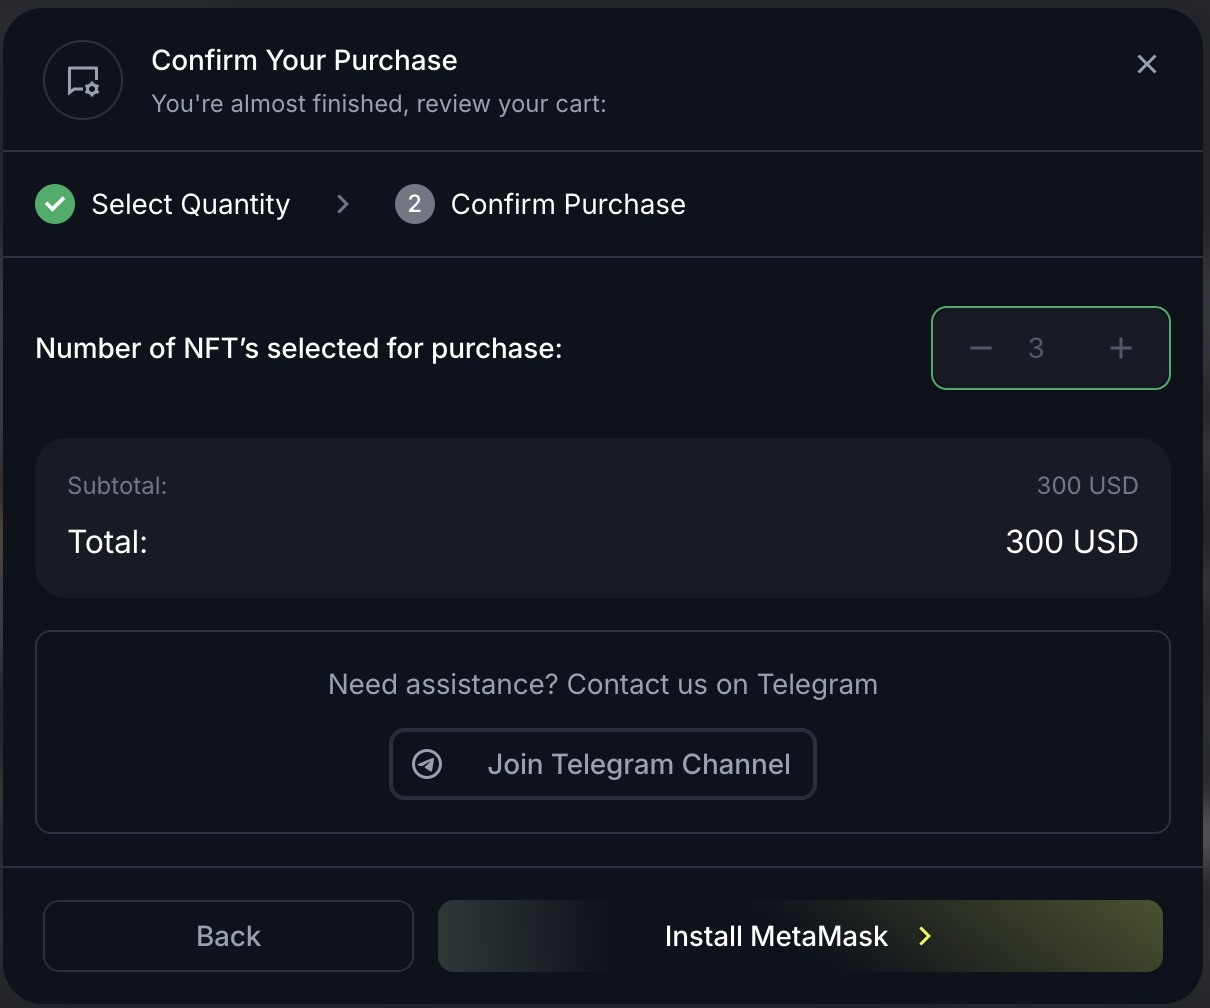
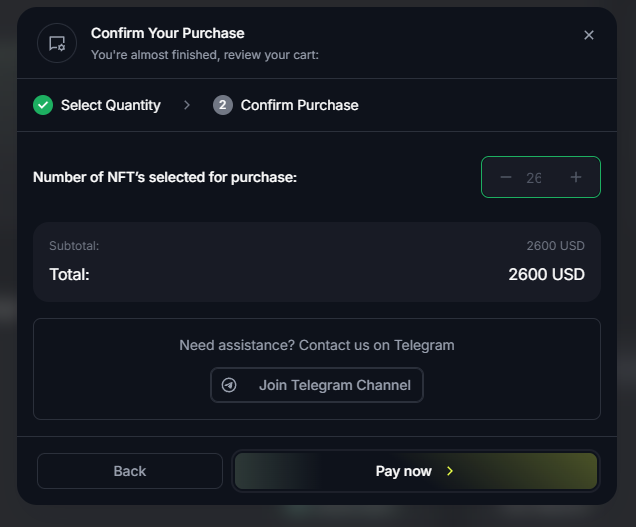
- Confirm Purchase
Here you’ll see a clear summary of your purchase:
- Total NFTs selected
- Total price
- Payment wallet address
- Chosen payment currency (USDT or USDC)
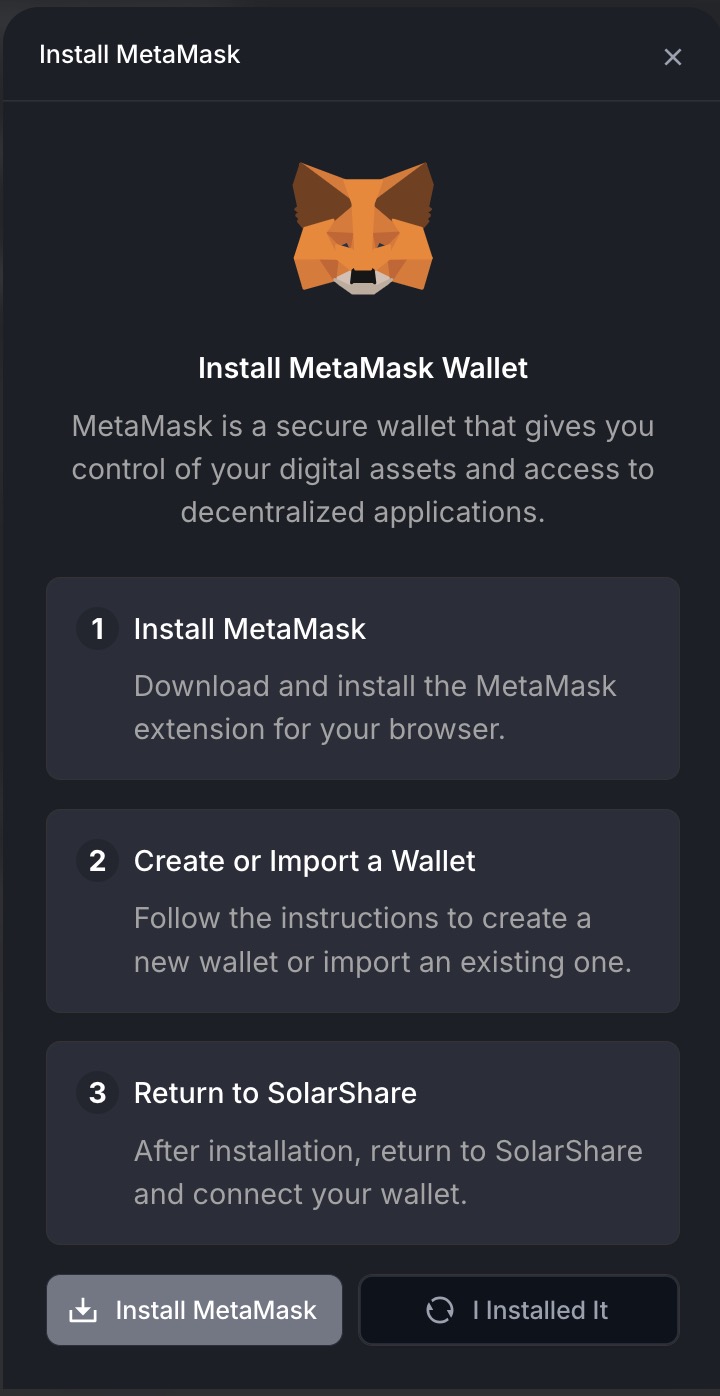
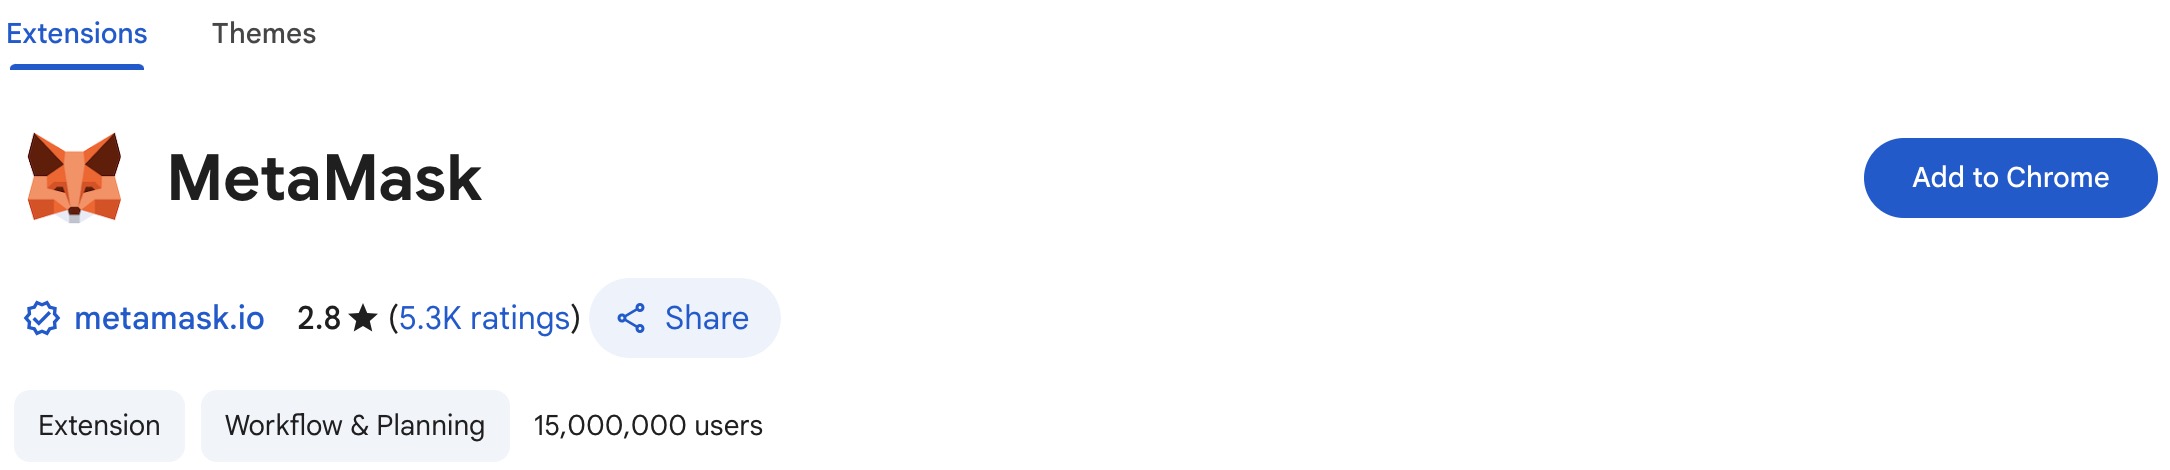
If you haven’t yet installed MetaMask, the button in the bottom-right will say: “Install MetaMask”
Clicking this will:
- Show a quick explainer of what MetaMask is
- Redirect you to the official Chrome extension
- Once installed, go back to the SolarShare dashboard, click "I installed it", and MetaMask will automatically connect to the BNB Smart Chain
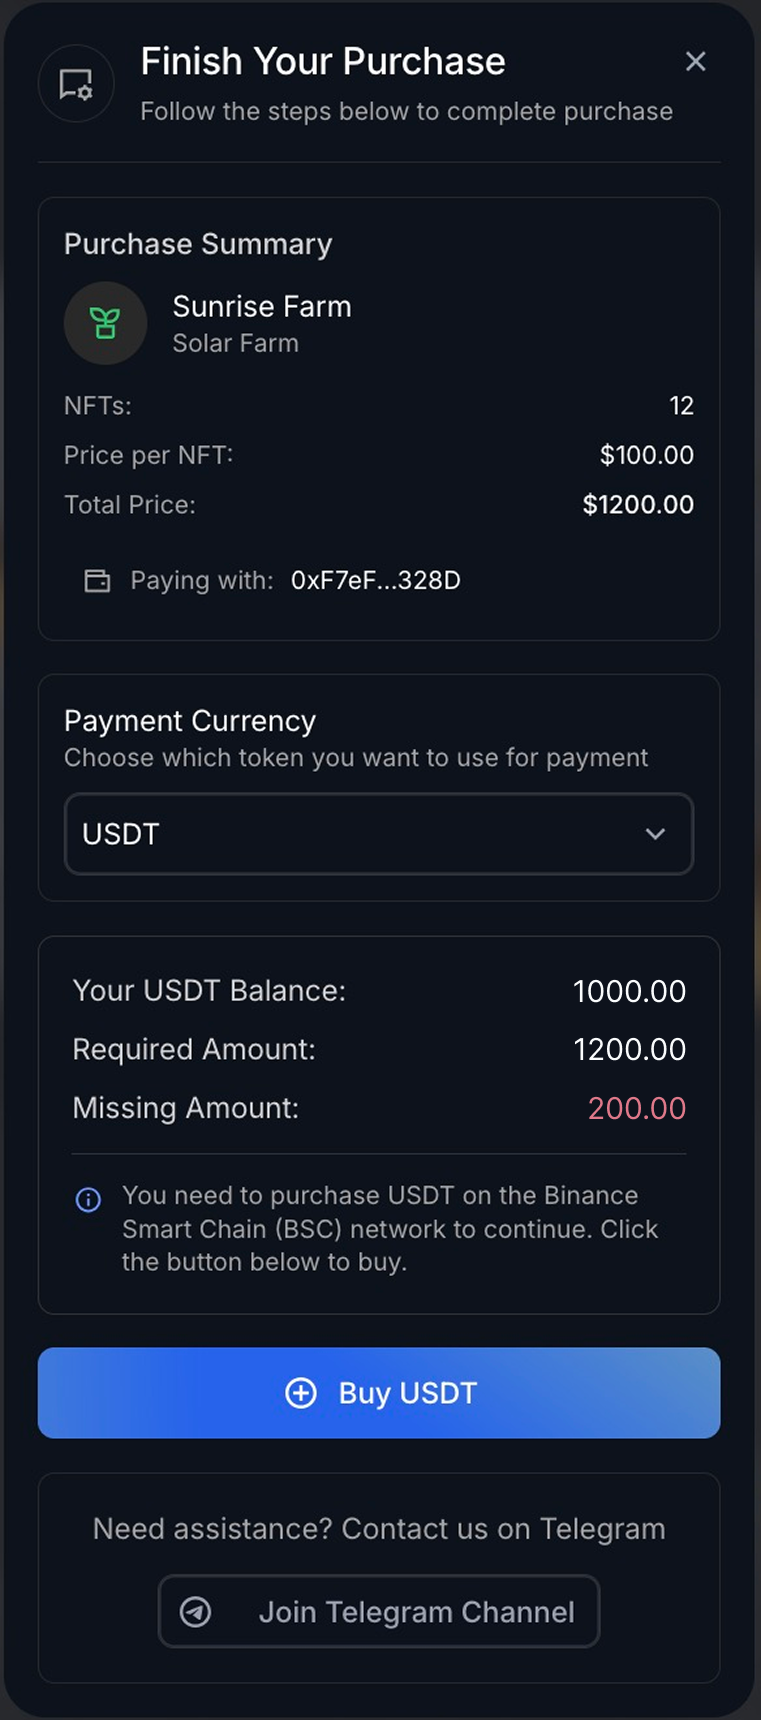
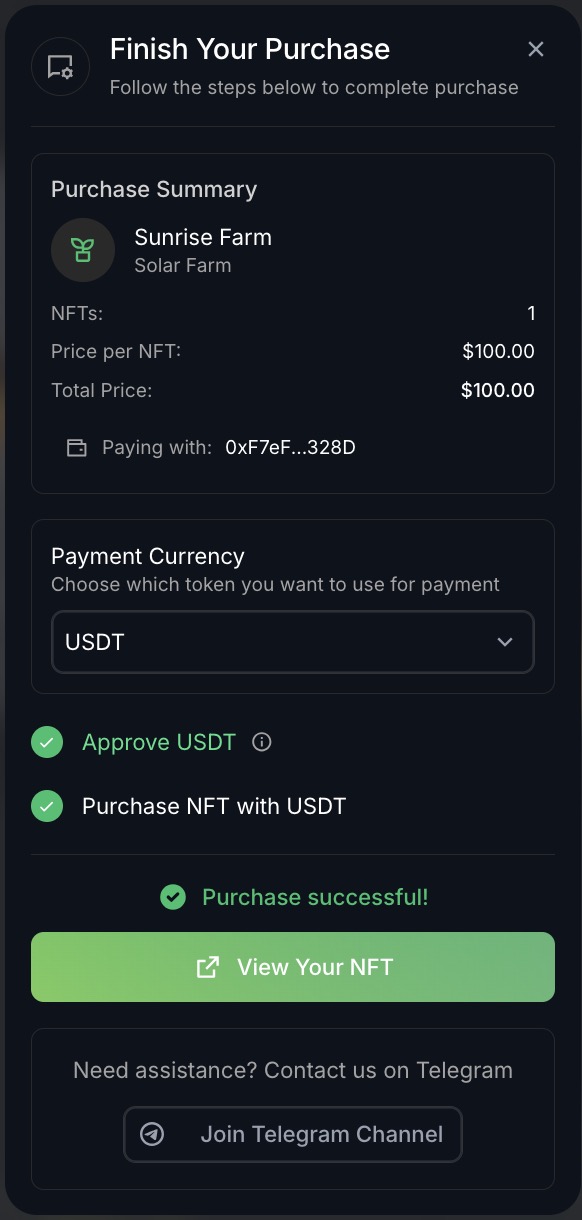
- Purchase Summary & Currency Setup
Next, you’ll see a summary screen like this:
- Purchase Summary
- Solar Farm
- Amount of NFTs
- Price per NFT: $100.00
- Total Amount to Pay
- Wallet Address
Choose your currency: USDT or USDC
Your wallet balance will be checked in real-time. If you're short on funds, you'll see:
“You need to purchase USDT on the Binance Smart Chain (BSC) network to continue.”
You’ll also see:
- Current wallet balance
- Missing amount
- A button to Buy USDT or Buy USDC
Clicking this will take you directly to MetaMask’s MoonPay integration — where you can purchase stablecoins using a credit card. Please note: you’ll be asked to verify your identity, so have your ID ready during the process.
- Approve & Finalize
Once your wallet has the right balance, the pilot will prompt you to:
- Click “Approve USDT” (or “Approve USDC”)
- MetaMask will open and show a transaction window
- Confirm gas/network fees (paid in BNB)
- Submit the transaction
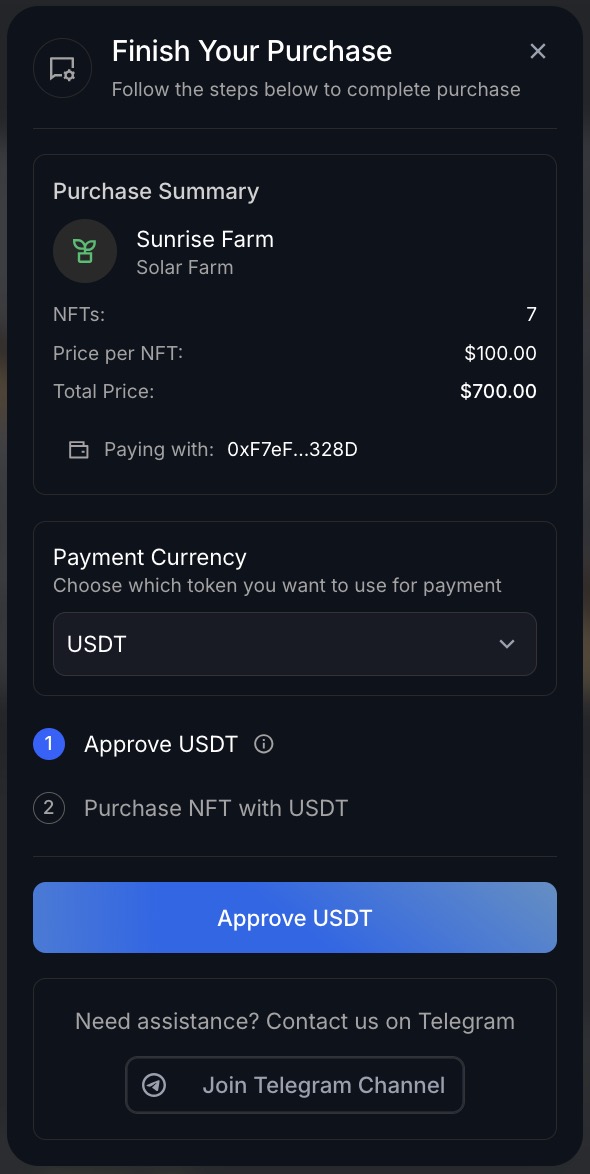
After successful approval and purchase, you’ll see:
- Approve USDT
- Purchase NFT with USDT
- Purchase successful!
You can now click “View Your NFT” to go straight to “My Assets”, where your NFTs are visible and rewards begin tracking.
Prefer to Set It Up Yourself? Here’s How.
For more hands-on users, we’ve kept a manual guide just below. It includes full instructions for installing MetaMask, connecting to the BNB Smart Chain, and purchasing Solar NFTs step-by-step — without using the pilot.
Manual Setup (For Advanced Users)
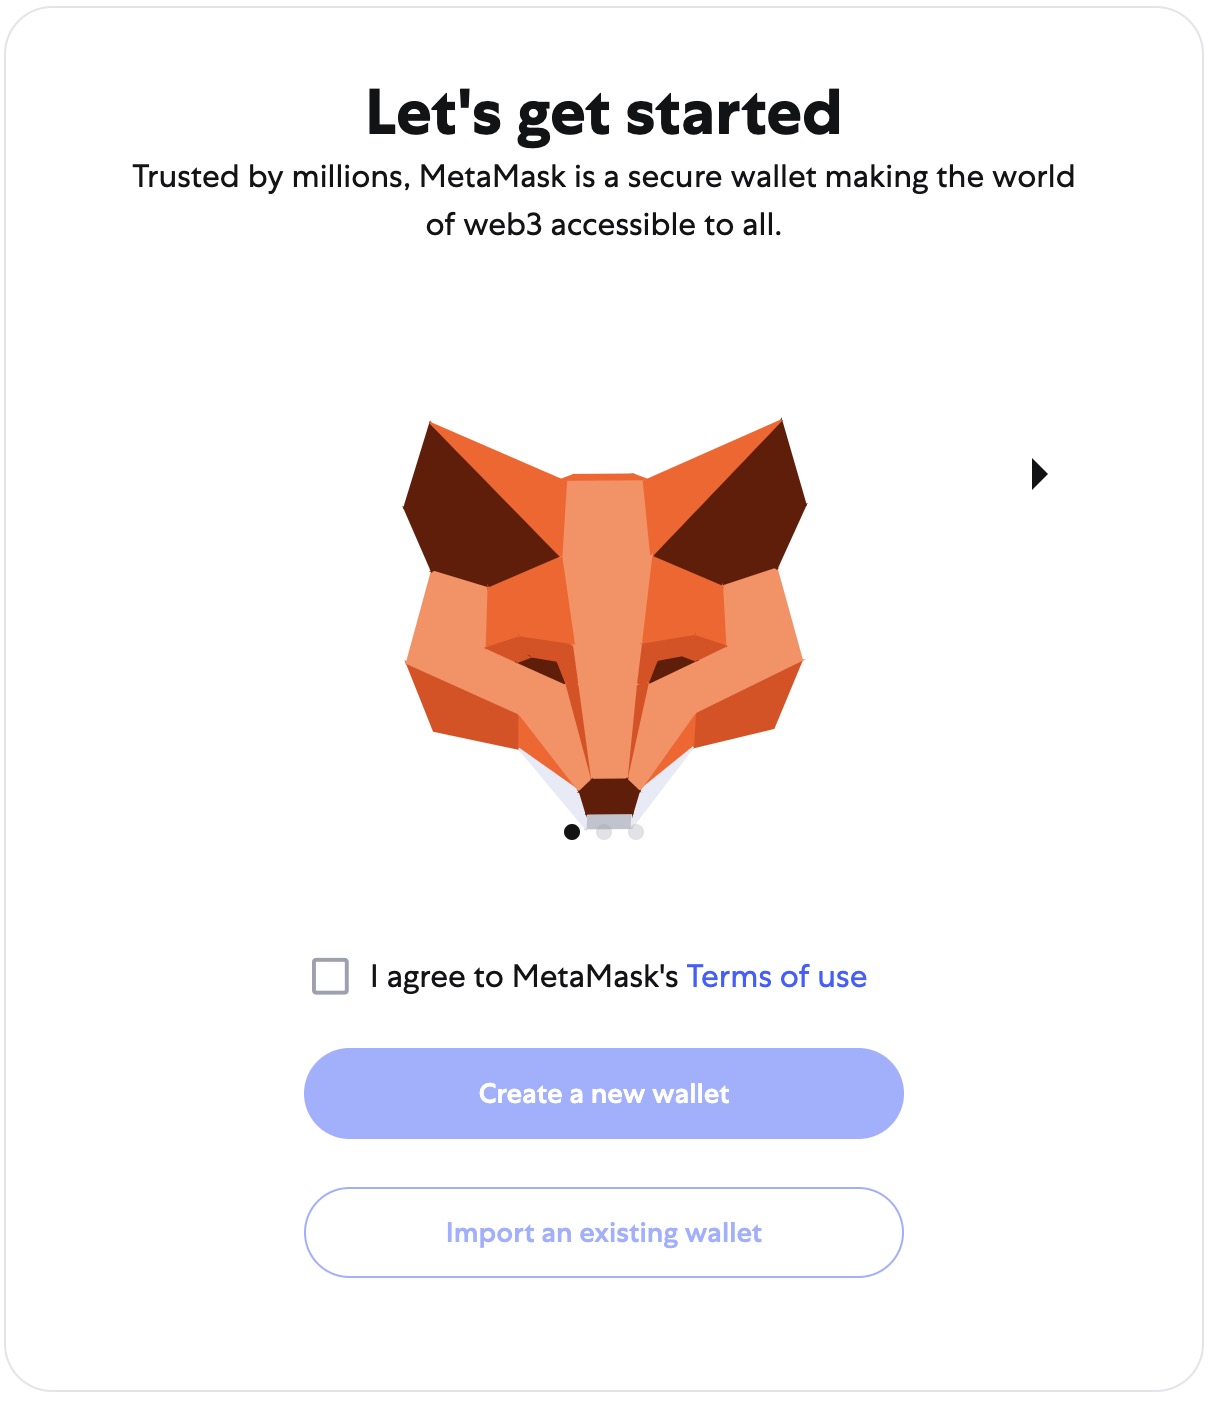
- Step 1: Install MetaMask
Go to https://metamask.io
Download the browser extension (Chrome/Firefox) or mobile app
Set up your wallet and save the recovery phrase securely
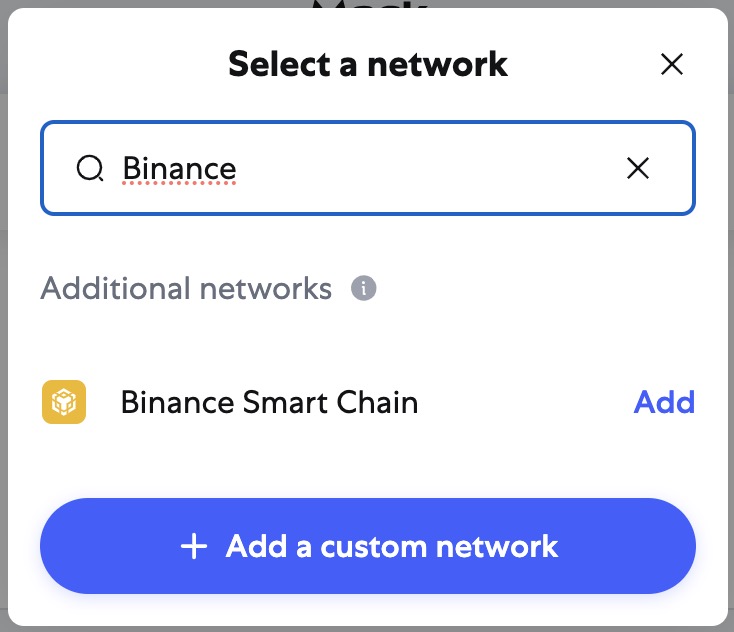
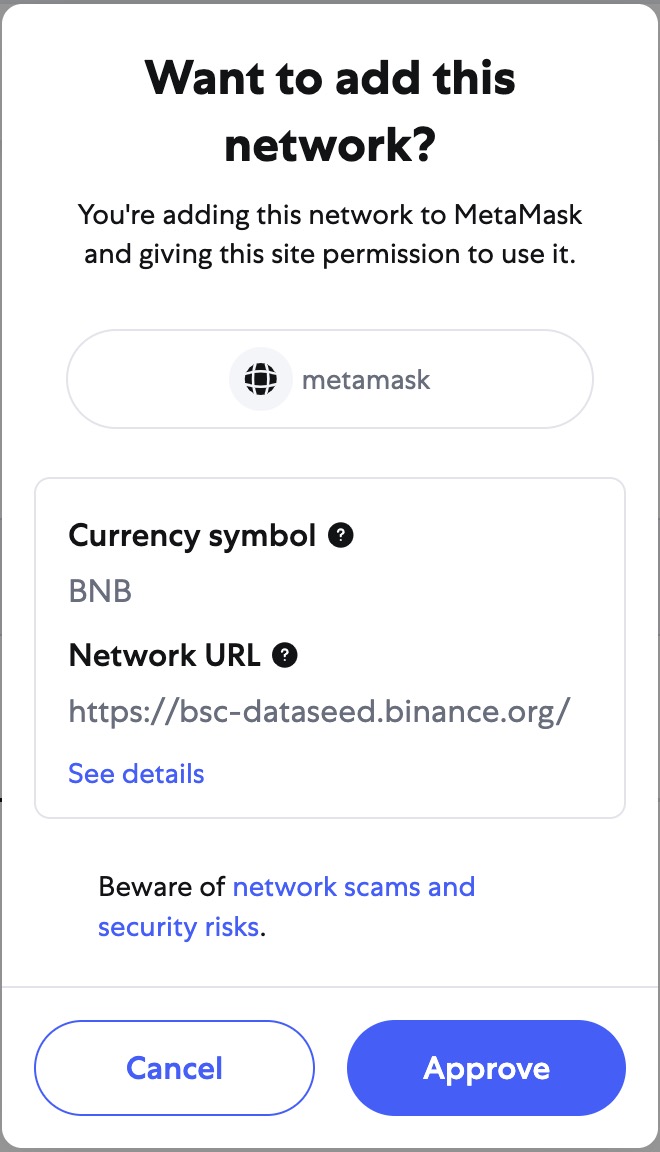
- Step 2: Add Binance Smart Chain (BSC) to MetaMask
Open MetaMask → Click top-center where it says "Ethereum Mainnet" → Select "Add Network"
Enter:
Network Name: Binance Smart Chain
RPC URL: https://bsc-dataseed.binance.org
Chain ID: 56
Currency Symbol: BNB
Block Explorer URL: https://bscscan.com
- Step 3: Buy USDT / USDC / BUSD
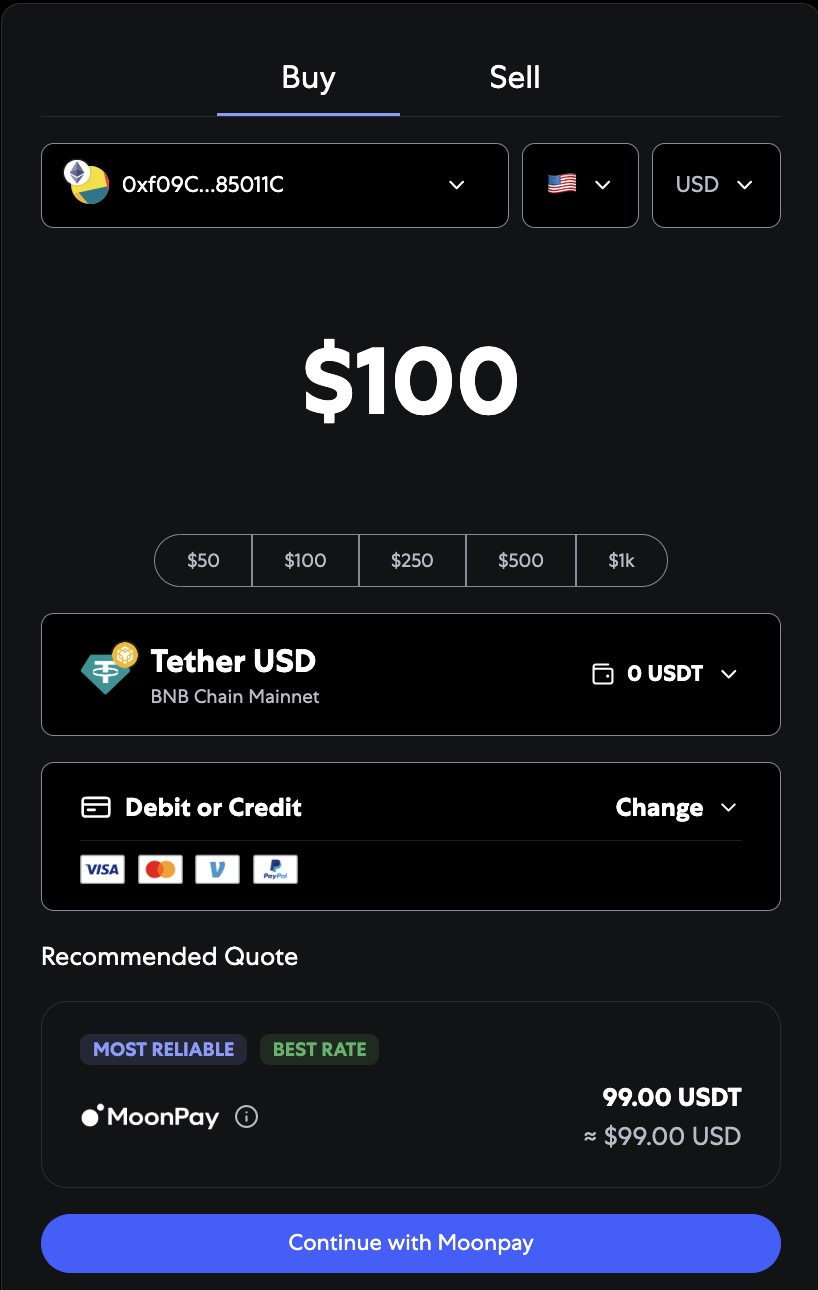
Option A: Buy Directly in MetaMask (Easiest)
- Open your MetaMask wallet
- Click the “Buy” button
- Choose a provider (Availability depends on your country)
- Select USDT, USDC, or BUSD
- Make sure the network is set to Binance Smart Chain (BSC)
- Complete the transaction with your preferred payment method (credit/debit card, Apple Pay, etc.)
⚠️ Double-check that you're on the Binance Smart Chain network before buying!
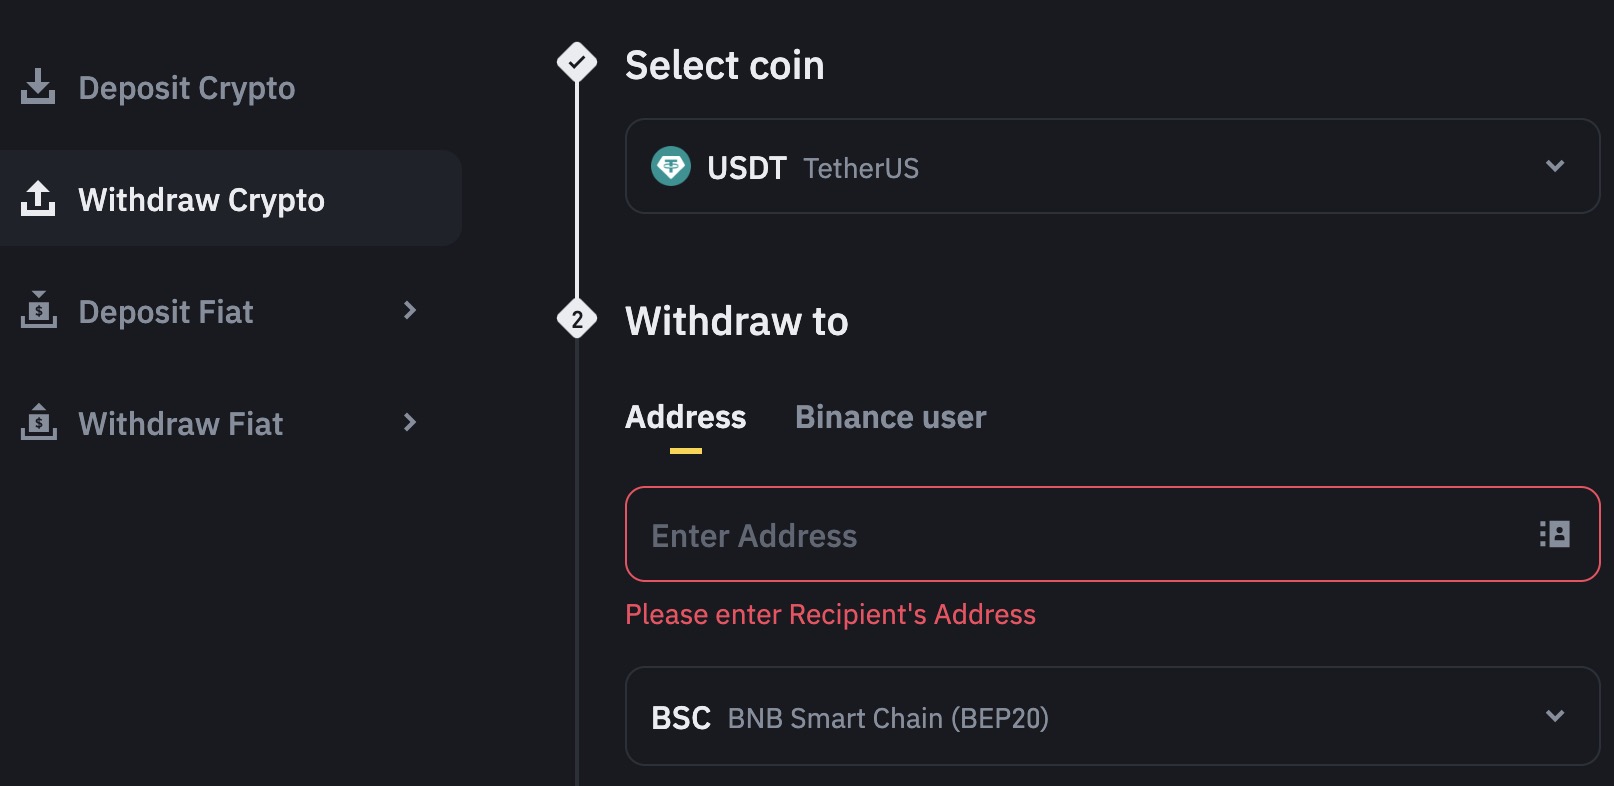
Option B: Centralized Exchange (e.g., Binance.com)
- Create an account on Binance.com and verify it
- Buy USDT, USDC, or BUSD
- Go to your Wallet > Withdraw
- Paste your MetaMask wallet address
- Select the BEP-20 (BSC) network before confirming
⚠️ Be careful: selecting the wrong network (like ERC-20) may result in lost funds!
- Step 4: Buy Your Solar NFT
Now, you are ready to buy!
- Visit solarshare.io
- Click “Connect Wallet” and choose MetaMask
- Choose how many NFTs you want to buy (use the calculator)
- Select your payment currency (USDT, USDC, or BUSD)
- Confirm the transaction in MetaMask
Your NFT will appear in your wallet and your personal SolarShare dashboard, where you can track your earnings and energy impact.
What Makes SolarShare Different?
- Real-world energy production
- Weekly income in stablecoins
- No crypto experience needed
- Transparent tracking on blockchain
- Support climate-positive infrastructure
Glossary
NFT (Non-Fungible Token) – A unique digital asset. In our case, it represents a share of solar farm output.
Stablecoins (USDT, USDC, BUSD) – Cryptocurrencies tied to the value of USD.
APY (Annual Percentage Yield) – How much you earn per year from your NFT.
MetaMask – A crypto wallet to manage your assets and connect to decentralized platforms.
BSC (Binance Smart Chain) – The blockchain network we use to issue NFTs and process payouts.
BEP-20 – The token format on BSC, like ERC-20 for Ethereum.
Bridge – A tool to move crypto between different blockchains.
Next Steps
- Visit solarshare.io
- Set up your MetaMask wallet
- Get stablecoins on BSC
- Buy your NFT
- Track your returns weekly and watch your energy grow